Community Astronomy Clubs in the UK: How to Find One and What to Expect
A practical guide to finding a UK astronomy club, what happens at meetings and star parties, and how to...

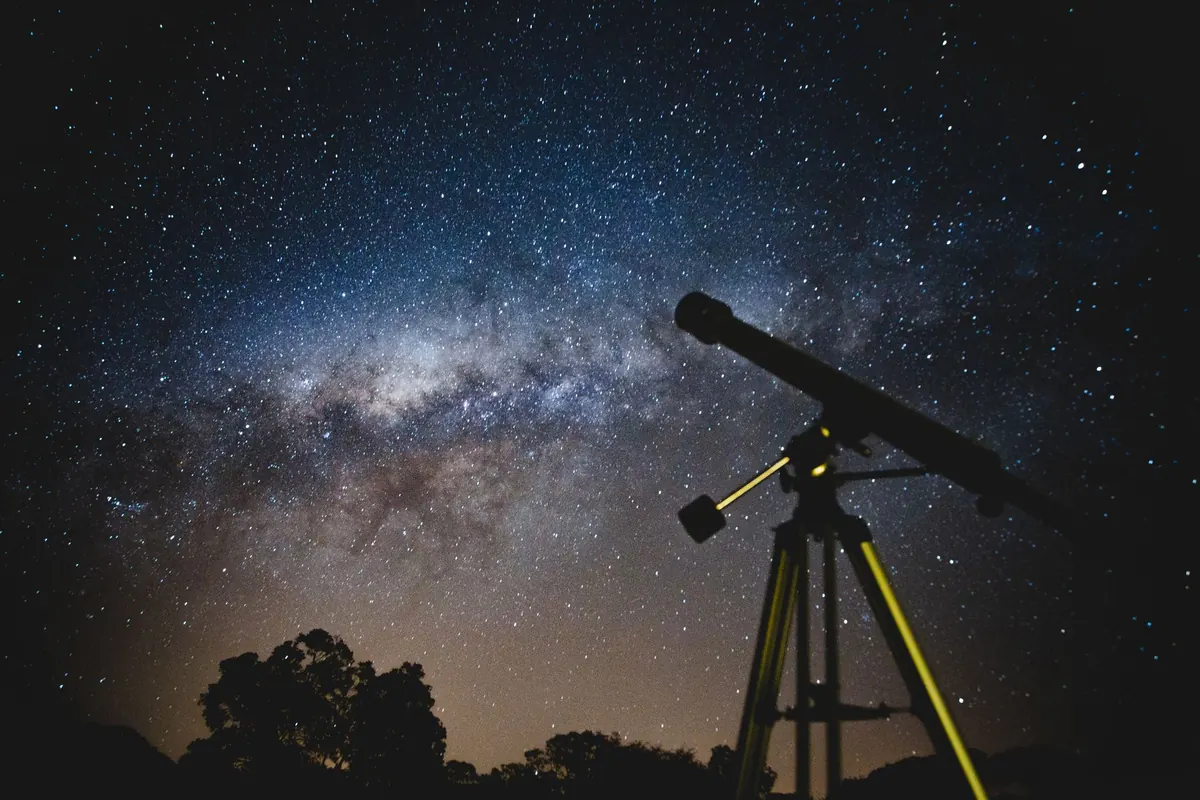
A new telescope is a strange kind of gift. The box arrives, the forecast looks promising, and you picture yourself at midnight, calm and quietly astonished. Two hours later you are hunched over an eyepiece seeing nothing but grey mush, wondering whether the whole hobby is an elaborate con. Almost every amateur astronomer has a version of that first night. The difference between a frustrating evening and a genuinely good one is rarely the telescope. It is the order in which you do things.
Unbox the telescope in the afternoon, on a table indoors, with the manual open beside you. You are doing two jobs: checking that nothing is missing, and learning which knob does what. Assembly in the dark, with cold fingers and dew forming on the optics, is how small screws end up lost in grass.
Balance matters more than beginners expect. On an equatorial or German mount, loosen the tube rings and slide the telescope until it sits level with the counterweight, then tighten. A balanced tube moves smoothly and stays where you point it. Overtightening the axes is a common mistake; the mount should be firm, not clamped.
The finder is a small telescope or red-dot sight mounted on the main tube, and its whole purpose is to get you close before you look through the main eyepiece. If it is out of line, you will spend the evening searching the sky with a narrow field of view, which is miserable.
In daylight, fit your lowest-power eyepiece — usually a 25 mm — and point the main tube at a distant object such as a chimney pot or pylon several hundred metres away. Centre it, then adjust the finder's screws until its crosshair or red dot sits on the same thing. Do not use the Sun, or point anywhere near it, unless you have a proper full-aperture solar filter fitted over the front of the telescope; eyepiece filters are not safe for solar observing.
Once it is dark, repeat the exercise on a bright star such as Vega or Capella. A ground object and a star sit at slightly different angles, so a small tweak is normal. After that, the finder becomes a genuine time-saver all evening.
Magnification is the telescope's focal length divided by the eyepiece focal length, so a 25 mm eyepiece gives much less magnification than a 10 mm. Low power gives a wider view, a brighter image and far more tolerance for error. Start there and work up only when the image is sharp.
Focus can take many turns of the knob, especially on a Newtonian reflector where you may need an extension tube or a different position in the focuser. If nothing seems to happen for half a minute, keep going. Aim at the Moon first: it is bright, obvious and forgiving. Crank the focuser until the edge of a crater snaps into sharpness, and you have found your starting point.
Stars should appear as tiny points of light. If you see a small ring or a doughnut, you are simply out of focus. If you wear glasses, try observing without them — the telescope's focus can compensate for short-sightedness, though astigmatism is a different matter and you may prefer to keep them on.
Wobble ruins more first nights than bad optics. Keep the tripod legs as short as you can comfortably manage, place it on grass or soil rather than a paving slab if you have the choice, and hang a bag with a couple of books from the spreader for extra stability. Above all, do not grip the tube while you look. Touch it, wait two seconds, then look.
A reflector also needs twenty to thirty minutes outside to cool. Until the mirror matches the air temperature, tube currents soften everything you see. Use that time to let your eyes adapt: twenty minutes away from white light makes a startling difference to what you can detect. Phone screens undo it in seconds.
Set your expectations honestly. Nebulae and galaxies look faint and colourless through a small telescope, and they suffer badly from street lighting. If you live in a town, planets, the Moon and double stars will be your friends.
A bright disc with no detail usually means the Moon at full phase or a badly out-of-focus image. Everything soft and boiling at high power means the atmosphere is unsteady — drop back to a lower magnification. A telescope that will not point at anything generally has a misaligned finder. An upside-down or mirrored view is entirely normal in most designs and irrelevant for stargazing. If the tube starts to dew over, a dew shield made from a roll of camping mat will buy you another hour.
Leave the telescope assembled if you can, even if it means shifting a chair. The second night is always better than the first, because you will already know which knob does what and where the finder is pointing. Keep a short note of what you looked at and what the seeing was like. Nobody's first night is spectacular, and that is fine. The aim is simply to end the evening with the telescope working and one good view in your head.
Photo: Lucas Pezeta / Pexels
A practical guide to finding a UK astronomy club, what happens at meetings and star parties, and how to...
The northern lights are rare from Britain but not impossible. Here's how forecasts, dark-sky sites and...
What Happens to the Human Body in Space? A Beginner's Guide EXCERPT: Weightlessness reshapes bones,...