Community Astronomy Clubs in the UK: How to Find One and What to Expect
A practical guide to finding a UK astronomy club, what happens at meetings and star parties, and how to...


It usually starts with one point of light you cannot quite place. You notice the same bright object in the same part of the sky for weeks, and then you want to know what it is. Stargazing in Britain has a reputation for being fiddly — the cloud, the light pollution, the expensive telescopes. In practice, you need almost none of that to begin. A clear evening, a coat warmer than you think you need, and twenty minutes of patience while your eyes adjust will do it.
Before you buy anything, spend a few nights looking up. Your naked eyes are surprisingly capable, and they come with no setup time, no batteries and nothing to fog up.
On a decent night from a suburban garden you can pick out the Moon, the brighter planets, and the handful of constellations that most people half-remember: the Plough, Orion with his three-star belt, Cassiopeia's unmistakable W. Jupiter is a steady cream-coloured disc that does not twinkle like a star. Venus blazes in the west after sunset or the east before dawn, depending on the time of year. The International Space Station crosses the sky as a steady, bright light taking a few minutes to travel from horizon to horizon.
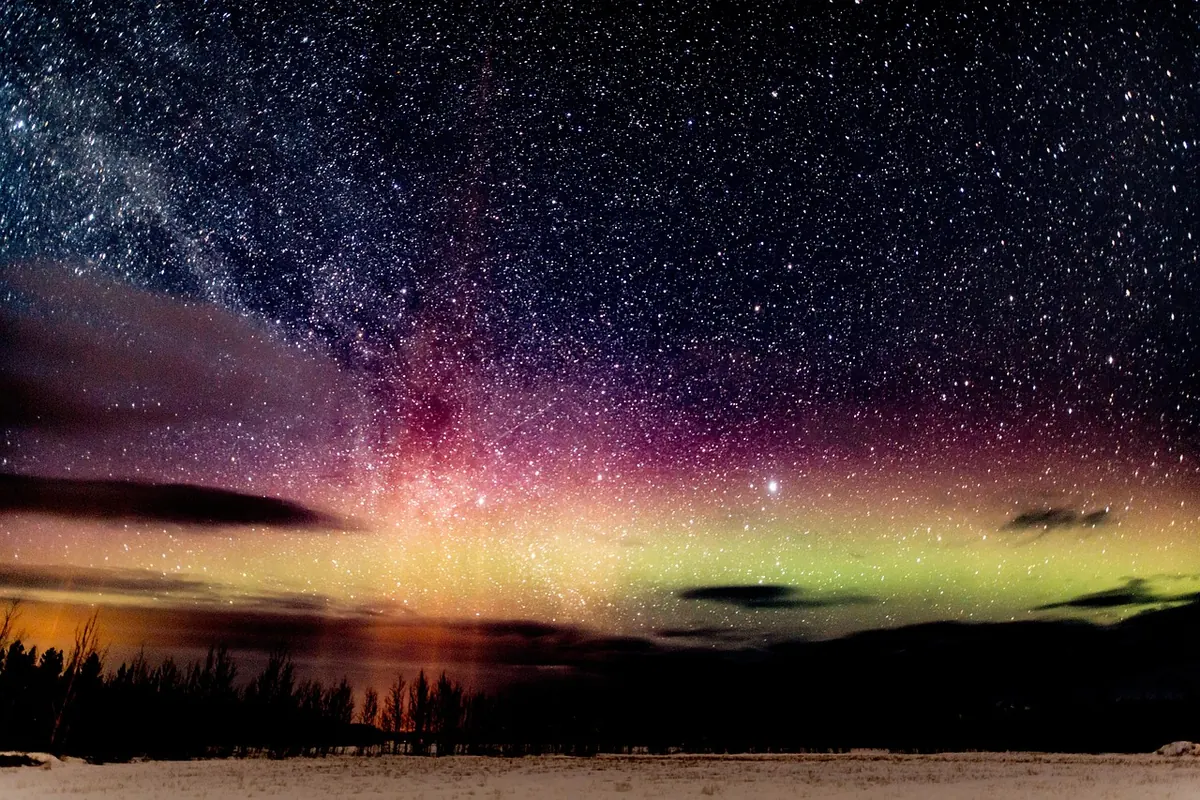
Two things change everything. The first is dark adaptation: your eyes need roughly twenty to thirty minutes away from bright light to reach their full sensitivity, and one glance at a phone screen throws most of that away. The second is a dark sky. From a genuinely dark site, the Milky Way becomes a textured band rather than a vague smear, the Pleiades resolve into individual stars, and the Andromeda Galaxy appears as a faint, elongated smudge — the most distant thing most people will ever see with their own eyes.
Light pollution is the single biggest limit on what you can see in the UK, and it is not evenly spread. You do not need to drive to a Dark Sky Reserve to make a real difference. Moving from a street-lit cul-de-sac to the edge of a village, a quiet playing field, a lay-by on a country lane or a beach car park can transform the sky.
If you do want to travel, Britain has several protected dark sky areas, including Kielder Forest in Northumberland, Galloway Forest Park in Scotland, and the reserves covering Exmoor, the Brecon Beacons, Snowdonia, the North York Moors and the South Downs. Online light pollution maps will show you the nearest genuinely dark patch to your postcode, and they are worth checking before you plan a trip.
A few practicalities matter more than the map. Go somewhere you can park legally and safely without blocking a gate or a farm entrance. Take someone with you, or tell someone where you are going and when you expect to be back. Avoid anywhere you would not want to be alone after dark. And take a red torch rather than a white one — red light lets you see your way around without ruining the dark adaptation you have just spent half an hour earning.
You can start with nothing at all, but a small amount of kit turns a chilly ten minutes into a proper session.
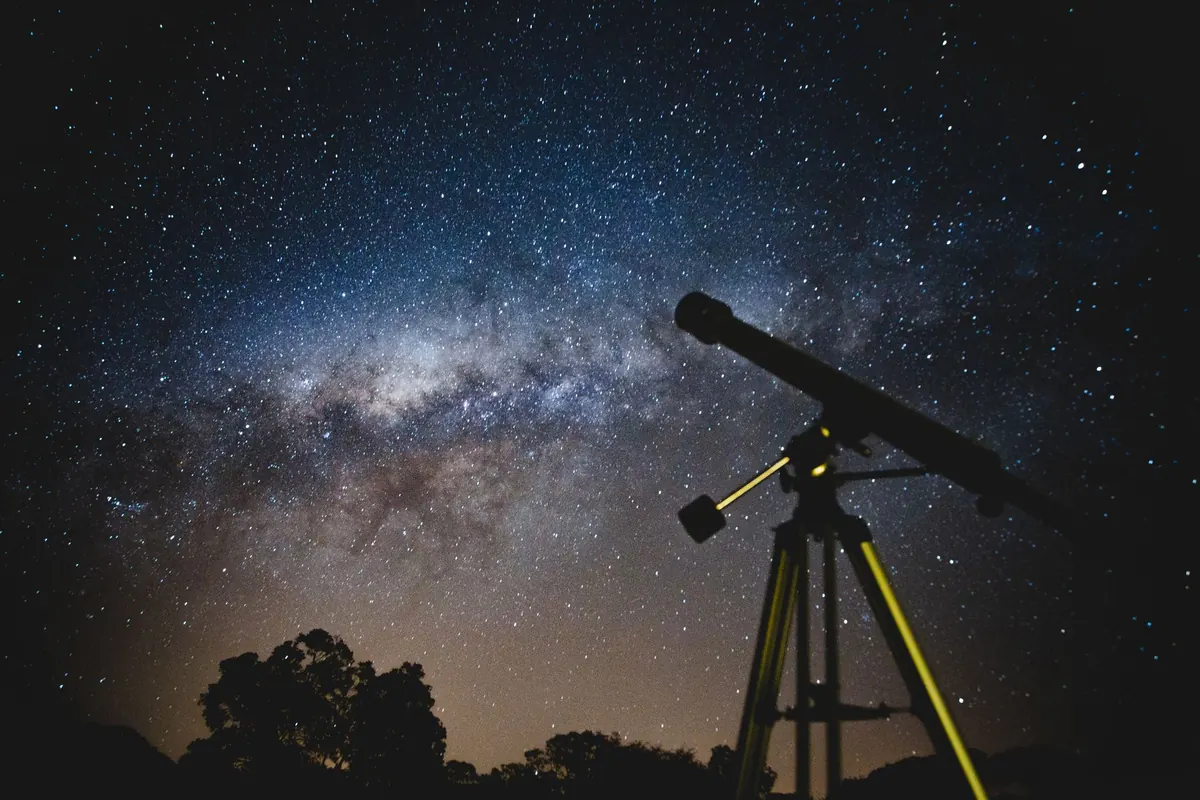
Skip the telescope for now. Most cheap beginner scopes are harder to aim than binoculars, shake more than you expect, and end up in a cupboard. Leave lasers alone entirely — shining one into the sky near an aircraft is dangerous and against the law.
The fastest way to feel lost is to try to memorise the whole sky at once. Pick one constellation a week instead, and learn how to jump between them. The two pointer stars at the end of the Plough lead you to Polaris, which tells you where north is. Follow Orion's Belt down and to the left and you reach Sirius, the brightest star in the night sky; follow it up and to the right and you reach Aldebaran in Taurus. Once you can navigate by two or three of these hops, the rest of the sky starts to feel like a place rather than a ceiling.
The Moon is the beginner's best friend and worst enemy. A few days either side of first quarter gives you a dramatic, shadowed terminator and some of the best views you will ever get through binoculars. A full Moon, on the other hand, washes out faint stars and galaxies across half the sky. For nebulae, the Milky Way and meteor showers, aim for the week around new Moon.
Season matters too. Winter brings long, properly dark nights and the richest constellations. UK summer evenings stay bright until very late, and in the far north of Scotland it never gets fully dark around midsummer. Check a cloud forecast before you commit, and remember that the clearest nights often arrive just after a cold front has passed through.
Almost every first session ends the same way: not because the sky ran out, but because the observer got cold. Layer up, sit down, and keep your hands out of your pockets only as long as you need to. Let binoculars reach the outdoor temperature before you use them, or the lenses will fog. Breathe gently away from the eyepieces, keep a soft cloth to hand, and warm your phone in a pocket so the battery lasts.
One safety point is worth stating plainly: never look at the Sun through binoculars, a telescope or your naked eye, even briefly, even during a partial eclipse. Permanent eye damage happens instantly and without warning. If you are unsure about filters or equipment for solar observing, ask a local astronomy society or an optician before you try. Most towns have a club, and most clubs run public observing evenings — the fastest shortcut from a curious beginner to someone who knows their way around the night sky.
Photo: RyanMcGuire / Pixabay
A practical guide to finding a UK astronomy club, what happens at meetings and star parties, and how to...
The northern lights are rare from Britain but not impossible. Here's how forecasts, dark-sky sites and...
A practical first-night guide to assembling, aligning and focusing a new telescope, with a checklist to...